Step 2: Concept Design
.. provides a firm basis for discussion so you can rest easy your design is heading in the right direction.
I NEVER start design work on a computer. It’s ALWAYS on my tried and trusted drawing board with a thick (at least 2B) pencil and a good supply of butter paper where my “scribbles” gradually take shape to a landscape that I KNOW will work! (I don’t like surprises later in the design process!) I will often schedule a second consultation based on my initial scribbles. This allows us to make any changes necessary to ensure your requirements are going to be fully met.
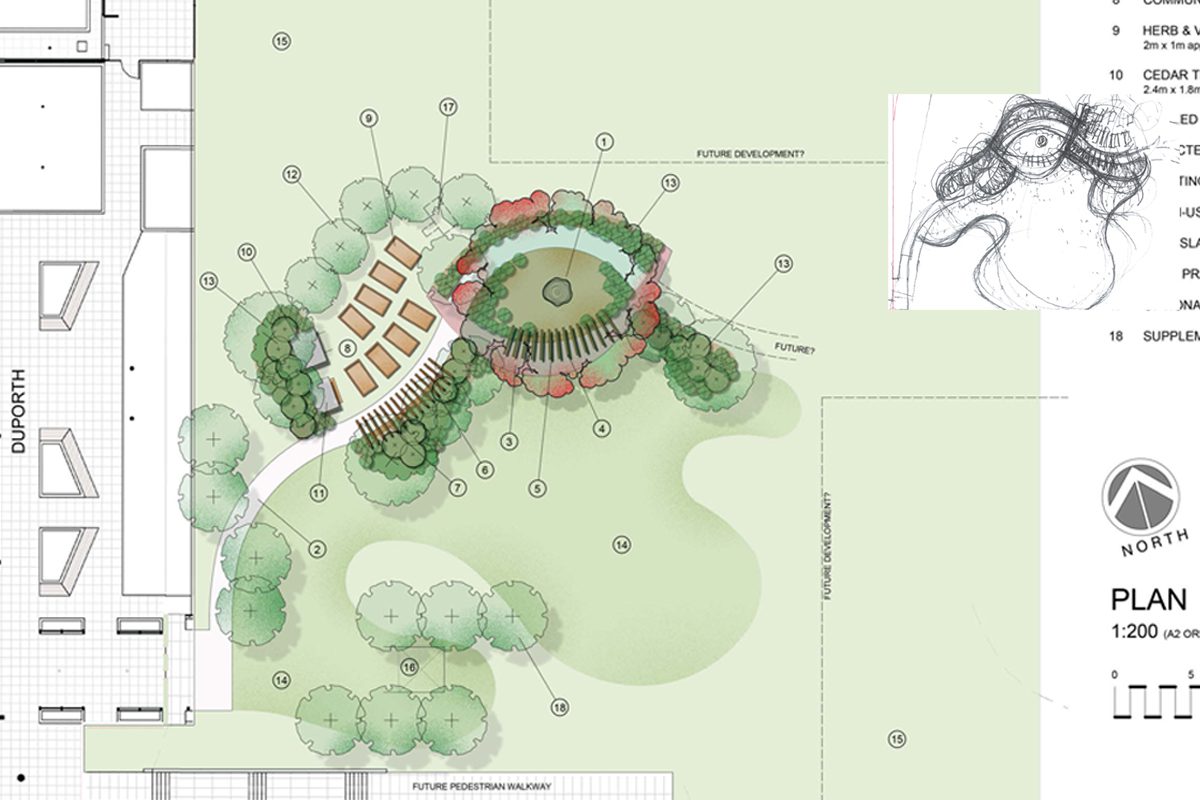
Now it’s time to prepare the Concept Plan. The objective of the Concept Plan is to present the “structure” of the landscape – that will include the essential “hard” elements (paving, walling, level changes, screening, etc). Planting would not normally be detailed at this point, apart from notation of the general planting “structure”; for example, “tall shrubs”, “ground cover”, “shade trees”, etc, etc.
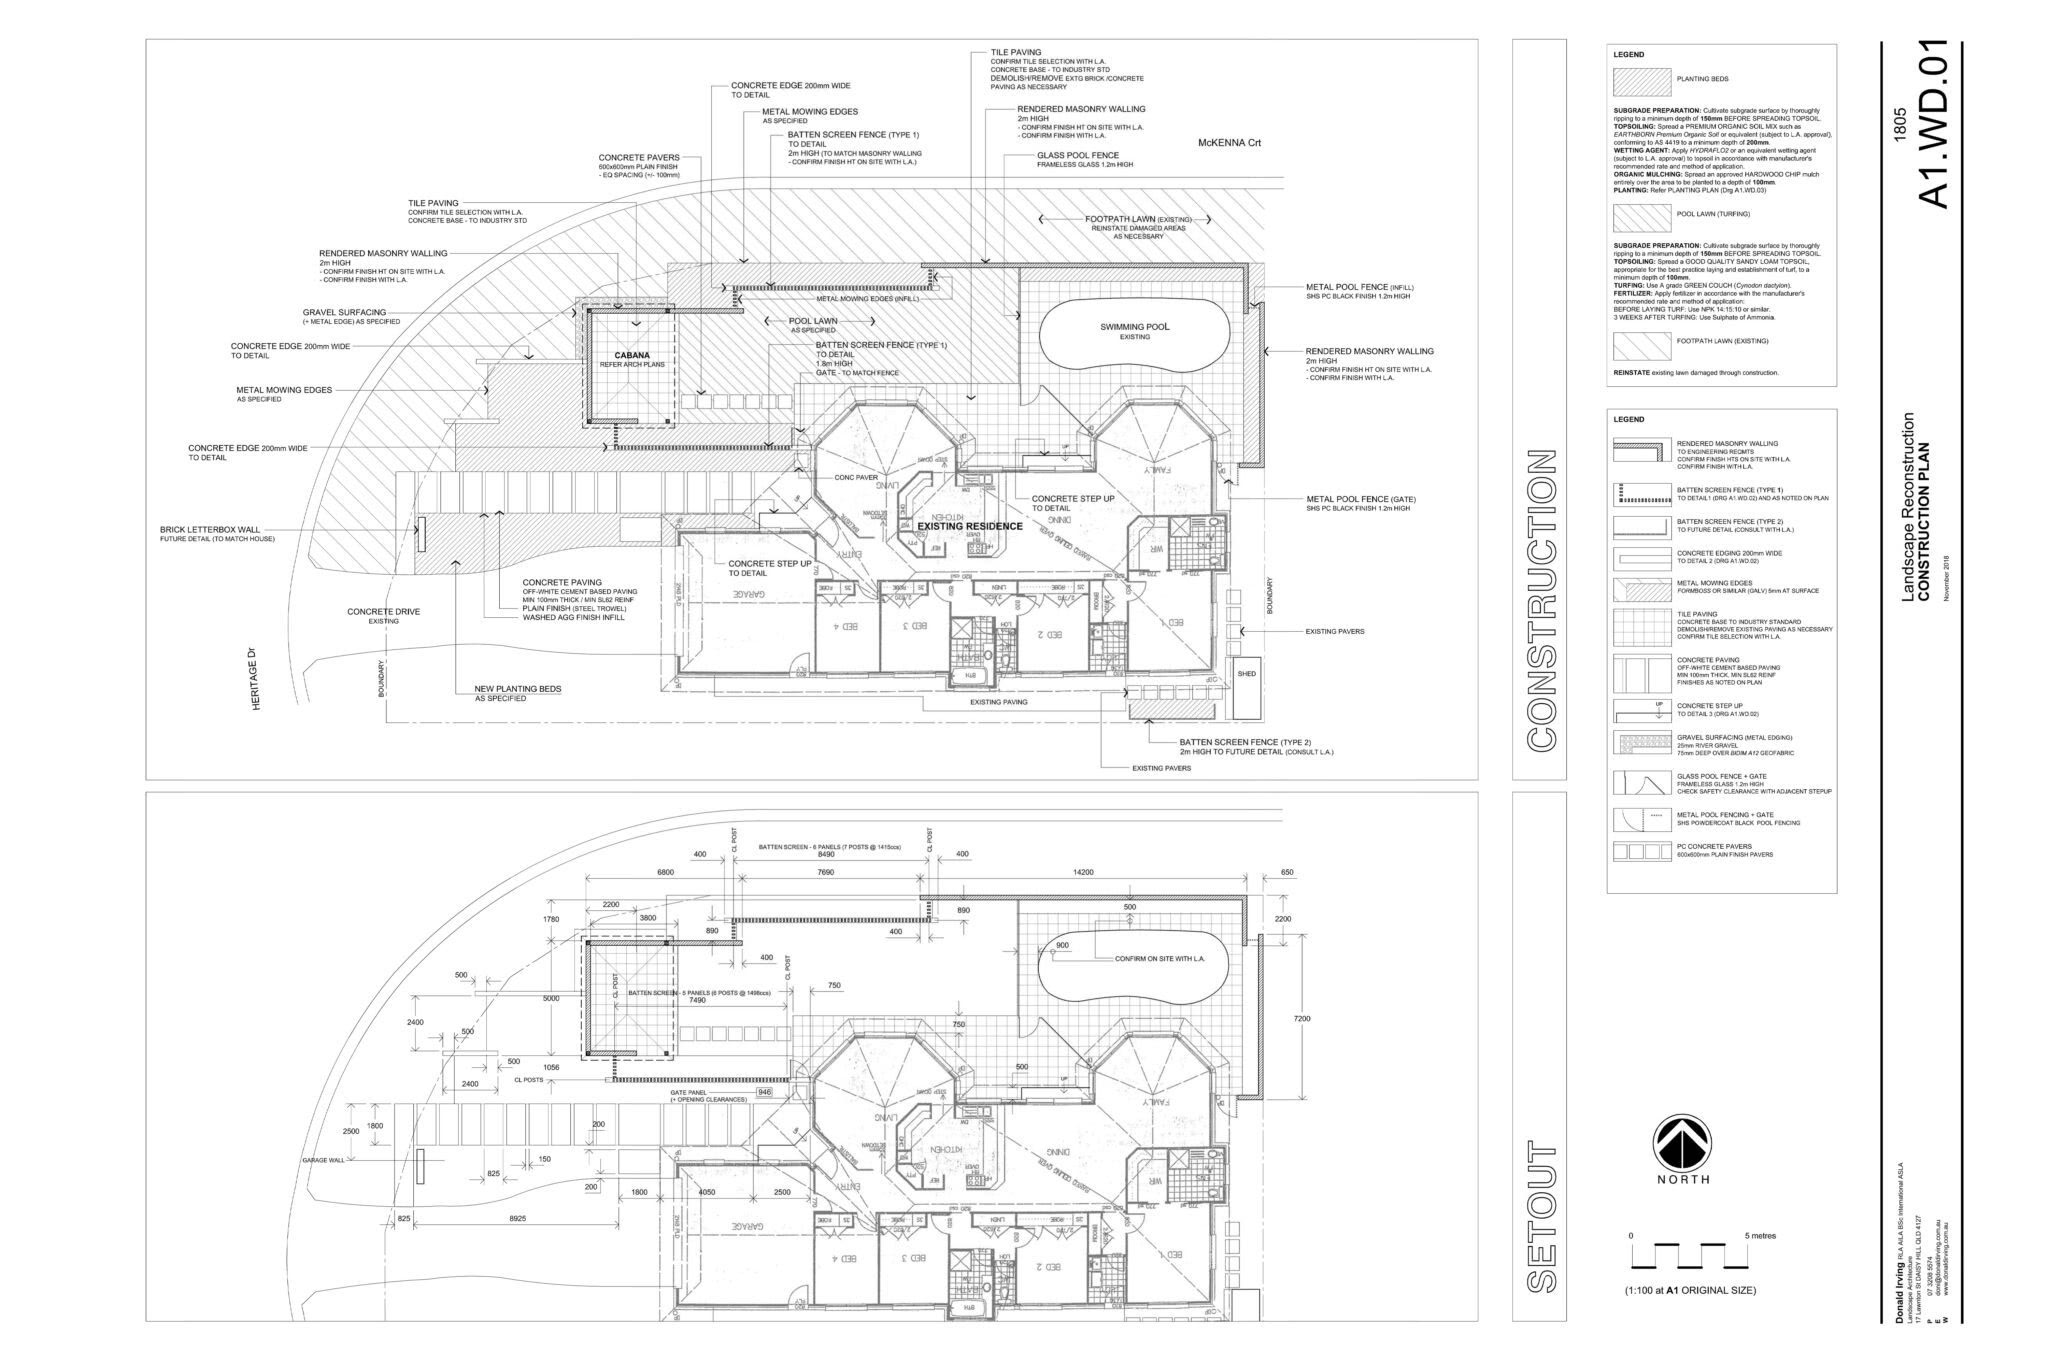
Although the plan is a “concept”, it will always be drawn precisely to scale (one of the benefits of CAD!) so that a well-qualified landscape contractor could start to implement the plan, should you choose to skip the next step (Step 3). Be aware of course, that as a “concept”, certain detail design considerations will still need to be determined. For example, if there is to be say, “stone walling”: What will be the finish? Will it have a “capping”? If so, what will the capping look like? How will the walling abut adjacent paved areas? .. and so on.


